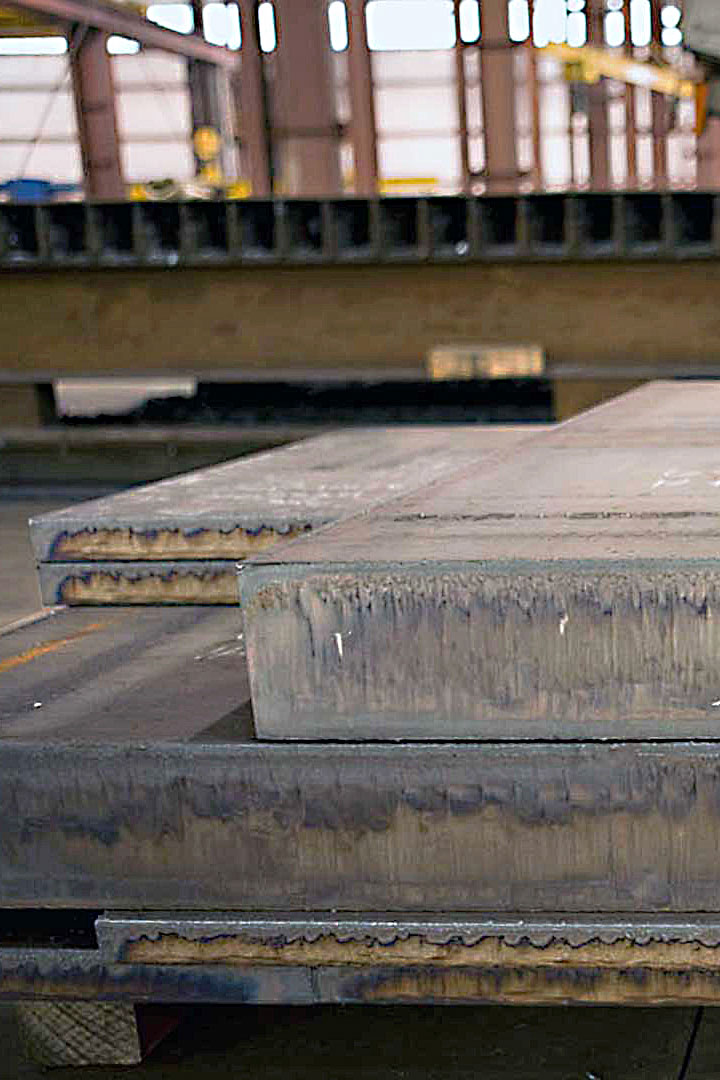
P92 seamless steel pipe inner surface
Introduction
Crack analysis is the fundamental step for studying and preventing the cracks that may arise on the inner surface of the P92 seamless steel tube. The analysis of the position of the crack can help with the improvement and optimization of the manufacturing process of the tube. A thorough understanding of the causes and positions of the crack can have implications regarding the prevention and control of the crack on the inner surface of P92 seamless steel tube. In this article a comparison between three methods is presented, these include photo inspection, fluorescent penetrant inspection (FPI), and ultrasonic testing (UT). Furthermore, several optimization processes on the metal powder, binder, and the extrusion speed are suggested to minimize the occurrence of cracks on the inner surface of the tube.
Crack Analysis
Formation of crack on the inner surface of a seamless steel tube is a common issue that has been addressed for many years. The determination of the positions and types of crack on the inner surface is essential for the optimization and improvement of the manufacturing process.
Photo Inspection
The method of photo inspection is simple and cost-effective and provides a visual analysis of the cracks on the inner surface of the tube. Using the light source, it is possible to obtain a clear image of both the inside and the outside of the seamless steel tube. This makes it easier to identify any cracks that may be present. A disadvantage of this method is that it is not possible to accurately determine the depth of the crack or its angle.
Fluorescent Penetrant Inspection
Fluorescent penetrant inspection is widely used in the industry as it can detect small and deep-seated cracks. With this method, the developer and penetrant are applied to the surface of the tube and the penetrant penetrates into the crack. The areas with lighter or no penetrant are then illuminated, making it easier to detect the crack. This method provides a good insight into the depth and the angle of the crack on the inner surface of the P92 seamless steel tube. However, a flaw of this method is that it requires additional time and resources to use.
Ultrasonic Testing
Ultrasonic testing is a non-destructive method with high accuracy and efficient performance. The wave of high frequency sound is sent into the seamless steel tube. When the wave hits the crack, the reflection wave will be generated and visualized on the display. The wave and the size of the crack are determined through time measurement. This method is reliable as it can accurately detect the depth and the angle of the crack on the inner surface. However, the cost associated to this method is rather high and it requires highly experienced technicians.
Process Optimization
In order to minimize or eliminate the occurrence of cracks, it is necessary to optimize the manufacturing process of the P92 seamless steel tube. A clear understanding of the causes of the crack is crucial for the optimization process.
Metal Powder
The metal powder and binder are two major ingredients in the manufacture of seamless steel tubes. The parameters of the metal powder should be optimized for the manufacture of seamless steel tubes. The particle size of the metal powder should be carefully chosen in order to obtain the desired properties of the steel tubes. In addition, the carbon content of the metal powder should be checked carefully as too high or too low carbon content can lead to cracks on the inner surface of the tube.
Binder
The properties of the binder should also be optimized. The binder is often the only source of lubrication during the extrusion process and it is important to choose a suitable binder that can provide enough lubrication. The binder’s water content should also be checked as too high or too low water content can cause cracks on the inner surface of the tube.
Extrusion Speed
For the extrusion process, it is important to choose an appropriate extrusion speed. The speed of the extrusion should be adjusted in order to avoid forming too dense materials which may lead to cracks. Too slow extrusion can also cause cracks due to the contact between the inner surface of the tube and the die which is formed due to the friction.
This article presents a comparison between three methods for the analysis and determination of cracks on the inner surface of the P92 seamless steel tube. The article also discussed the optimization process of the tube, including the parameters of the metal powder, binder, and the extrusion speed. The optimization of the parameters and processes is essential for the manufacture of high quality seamless steel tubes.
Conatct us


